How to Add Transition in InShot?
In today’s digital age, video content creation has become increasingly popular, and mobile apps like InShot make it easier for users to edit and enhance their videos. One essential aspect of video editing is adding smooth transitions between clips, providing a professional and polished look to your content.
Transition is something that make me curious whenever i saw any video on tiktok or youtube so I decided to learn how to add this into our video to make it more attractive and eye catching.
And now adding transiting in Inshot become a piece of cake for me and I am sure that you will easily learn this skill in a short period of time.
Understanding the Importance of Transitions in Video Editing
Before we jump into the tutorial, let’s briefly discuss why transitions matter in video editing. Transitions serve as a bridge between different video clips, creating a seamless flow and enhancing the overall viewing experience.
InShot provides a user-friendly platform to effortlessly incorporate transitions, whether you are a beginner or a seasoned video creator.
Step-by-Step Guide: Adding Transitions in InShot
Step 1: Opening the InShot App
Begin by launching the InShot app on your mobile device. If you haven’t downloaded it yet, you can find it on the App Store (for iOS) or Google Play Store (for Android).
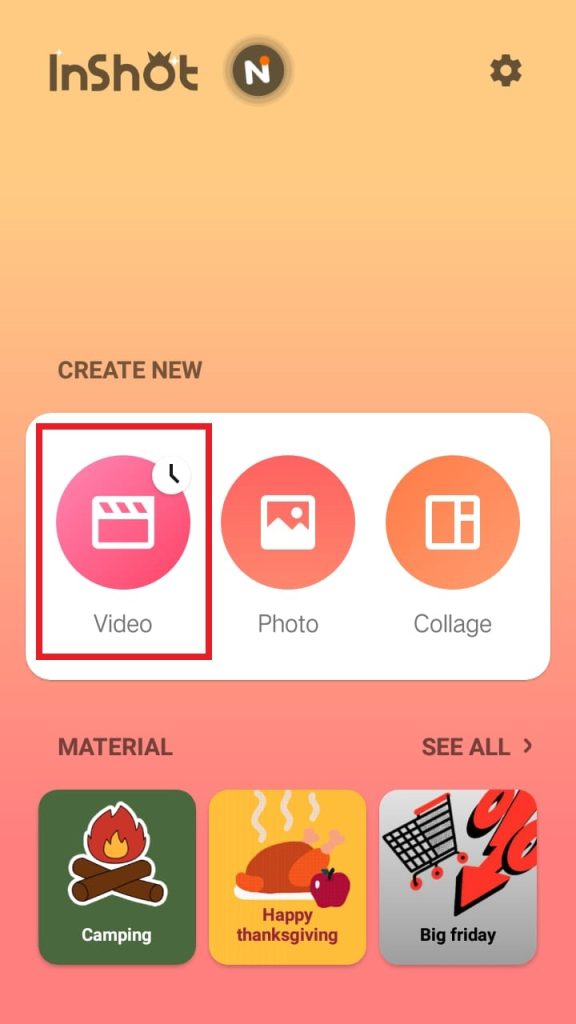
Step 2: Accessing Your Project
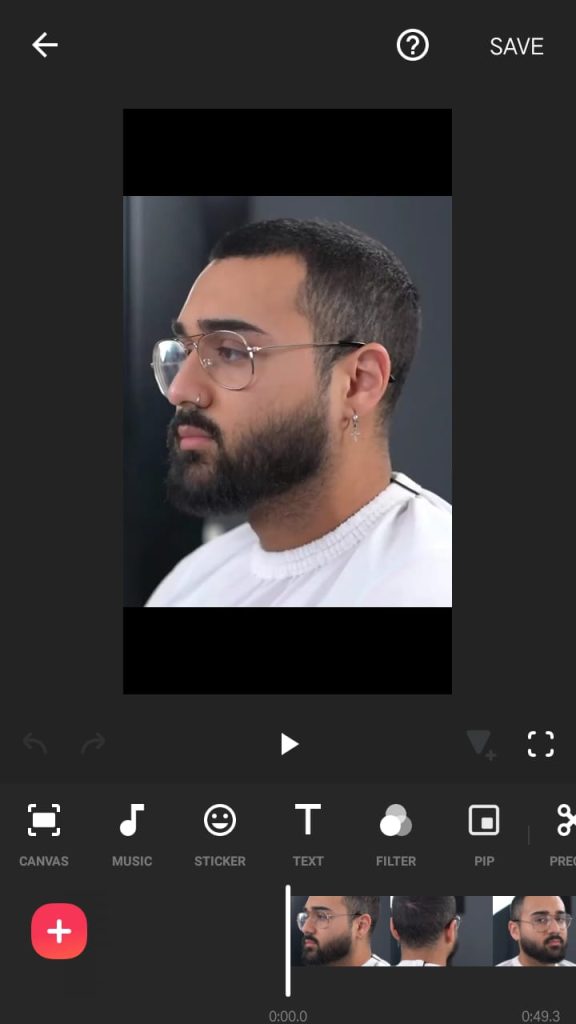
Open the project you’re working on or start a new one. Navigate to the video clips you want to edit and ensure they are arranged in the desired order.
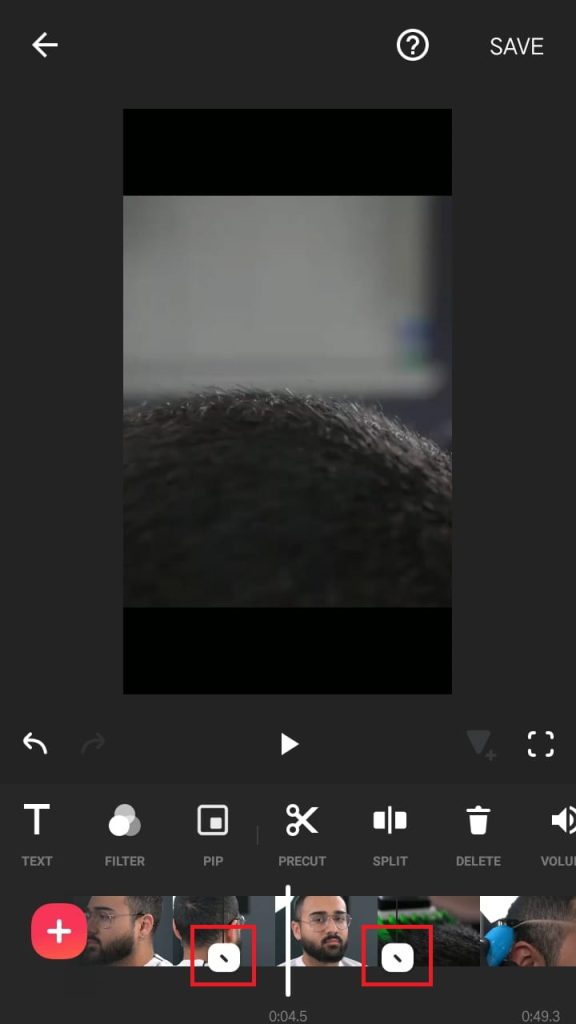
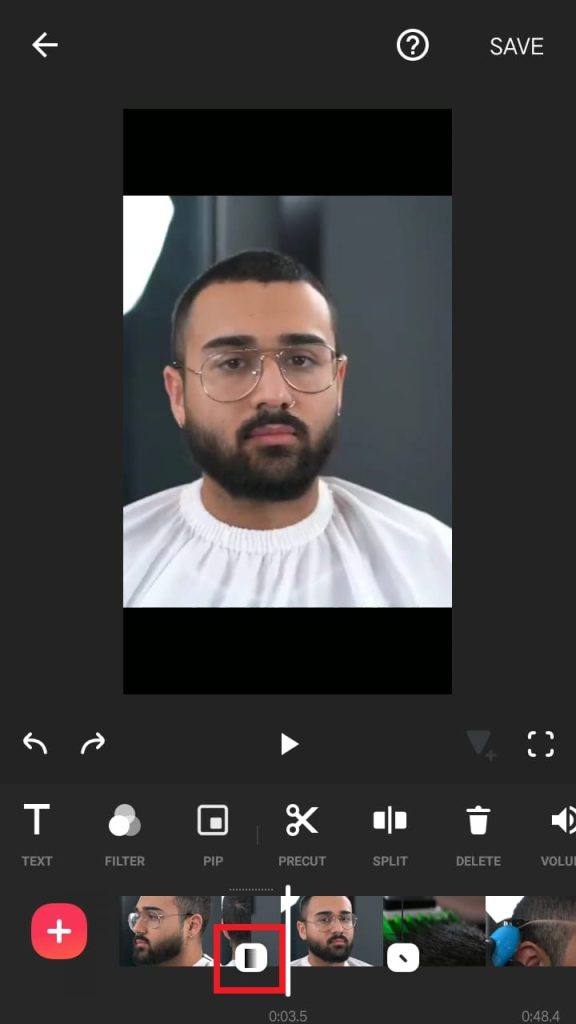
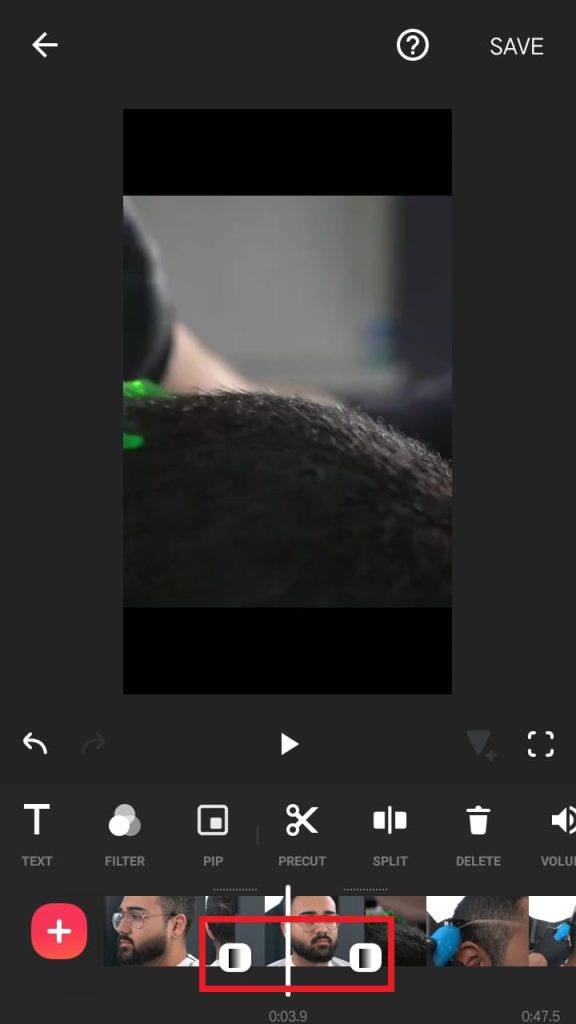
Step 3: Identifying the Transition Point
Long-press on the video clip to access the viewing version. Tap on the second video and continue tapping until you reach the point where the two videos meet. Look for a circular icon shaped like squares which is actually transition button, indicating the transition point.
In my case I have split 1 video in 3 parts, so it is showing 2 icons.
Step 4: Exploring Transition Options
Tap on the transition icon to access the transition setup. In this menu, you’ll find various transition options. Note that some advanced features may require the Pro version, but there are free basic transitions available.
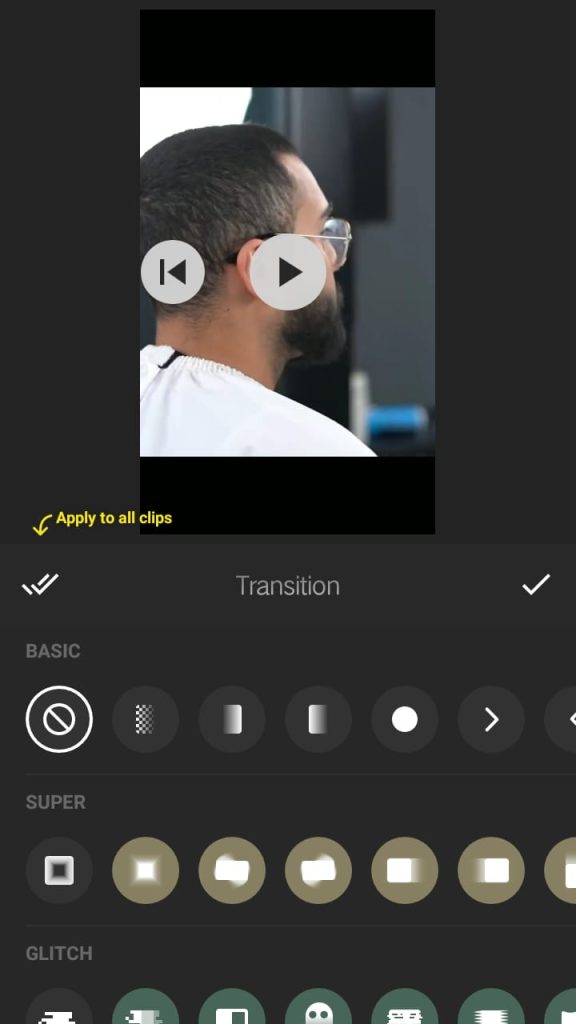
Step 5: Previewing and Choosing Transitions
Tap on different transitions to preview how they affect the transition between clips. InShot provides both basic and pro transitions. Choose a basic transition that suits your video style and tap on it to select.
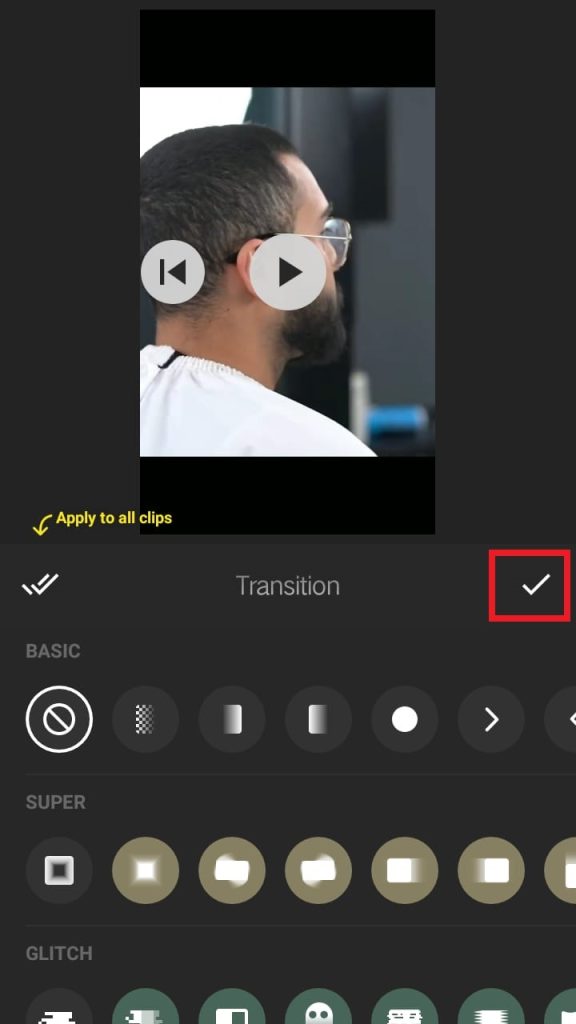
Once you get your desired one tap of tick icon.
Step 6: Applying Transitions
You can choose to apply the selected transition to all clips or specific ones. Once the transition is added, the previous square Icon will be replaced with the transition icon.
Use the “Apply to All” option or select the checkmark for individual clips. The chosen transition style will be indicated by an icon next to the transition point.
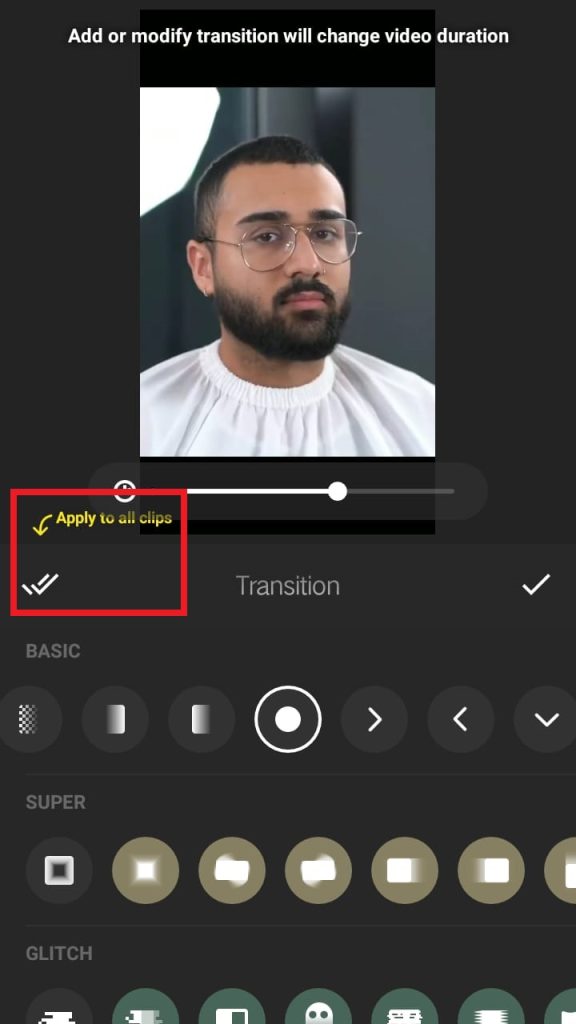
If you go with Apply to App then all the icons will be replaced because the same transition will apply to all clips.
Step 7: Editing and Undoing Transitions
If you want to make changes in transitions, you can go back to the transition menu, explore different options, and apply them. The undo option allows you to revert to the previous state before saving the video.
Conclusion: Enhancing Your Video Editing Skills
InShot’s transition feature provides a creative edge to your video projects, offering a variety of options to customize the way clips transition. Experiment with different transitions to find the style that best compliments your content.
By mastering these techniques, you’ll elevate your video editing skills and create visually engaging content for your audience.