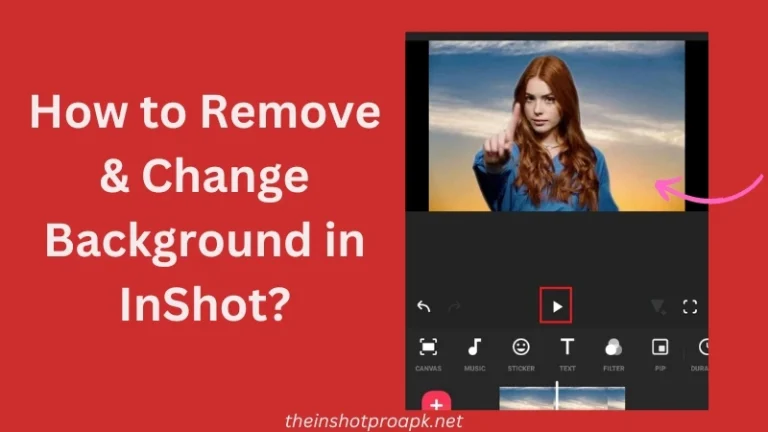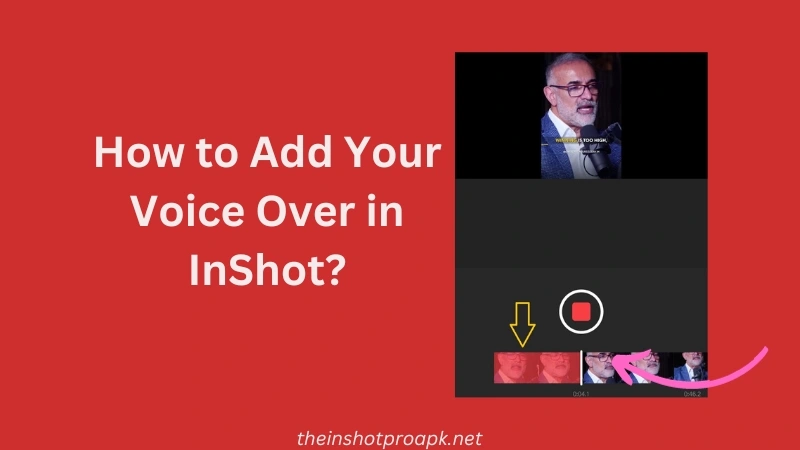
How to Add Voice Over in InShot?
How to Voice Over in InShot? Adding voice over in InShot is very simple and this can be done using recording feature given by InShot.
In today’s digital age, where content creation is at its peak, adding a professional touch to your videos is essential to stand out. One powerful way to elevate your content is through a captivating voiceover. Whether you’re creating vlogs, tutorials, or promotional videos, a well-executed voiceover can breathe life into your visuals and engage your audience on a deeper level.
In this blog post, I’ll guide you through the step-by-step process of adding voice over to your videos using InShot.
Adding Voice Over in InShot App
Step 1: Open Your Project in InShot
The very first step to record voice over on inshot is to add video or your project in which you wanna add voice overs. So let me add my project to show you how you can do it.
Step 2: Mute Original Voice
First of all, open the InShot app and tap on the “Video” option to import your desired video. In my case, I’ve imported this specific video. As mentioned earlier, we can add voice overs to InShot using the recording feature. So, the next step is to find this option. Tap on the “Music” icon.
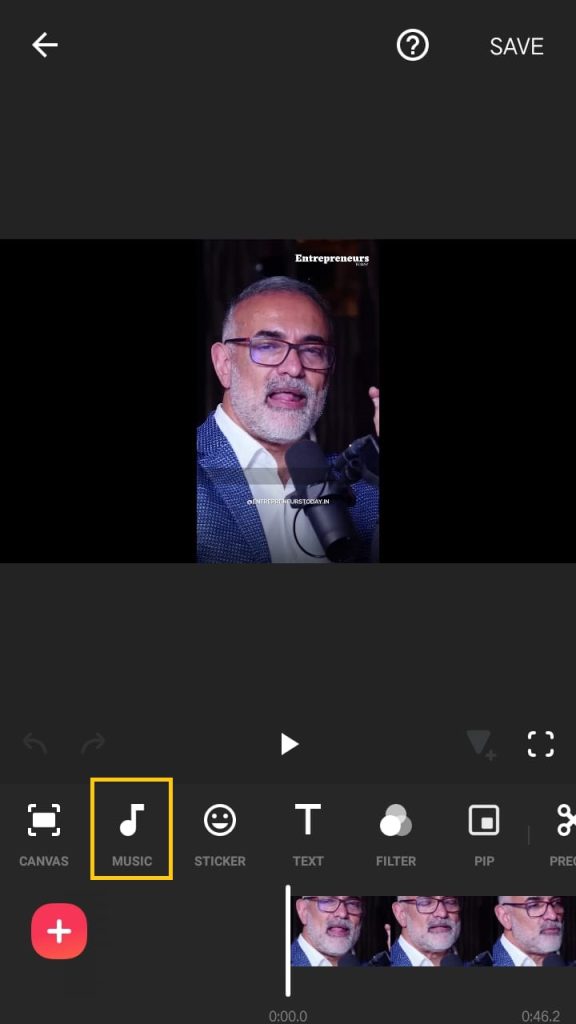
Upon tapping on the music icon, you’ll see three options provided by InShot: Music, Effects, and Record.
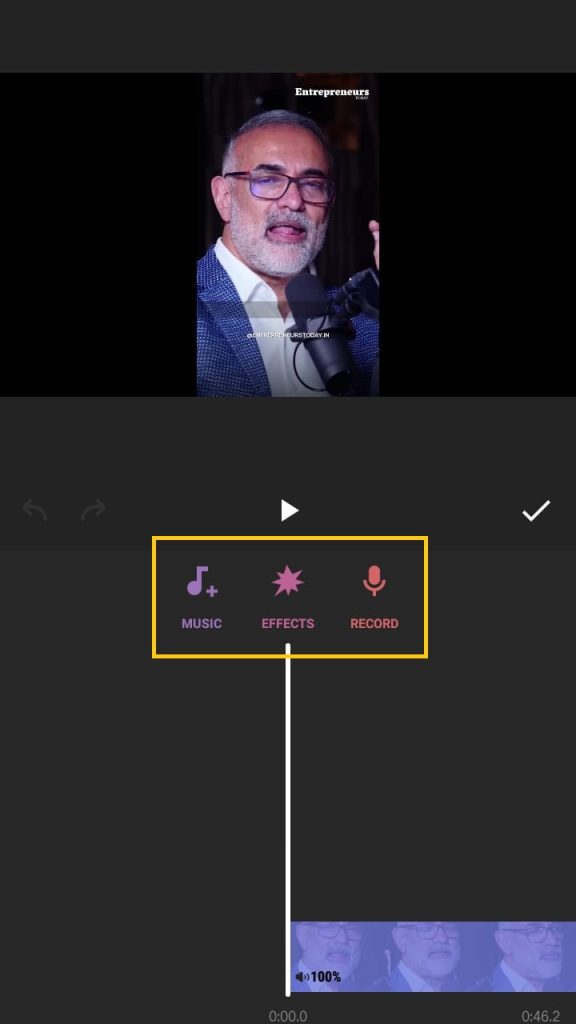
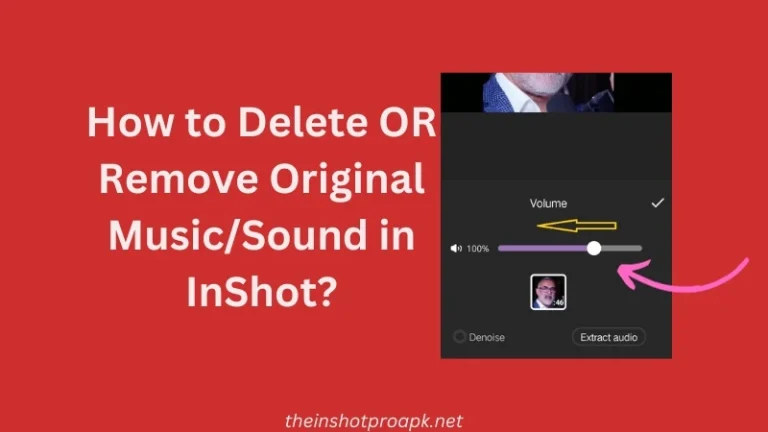
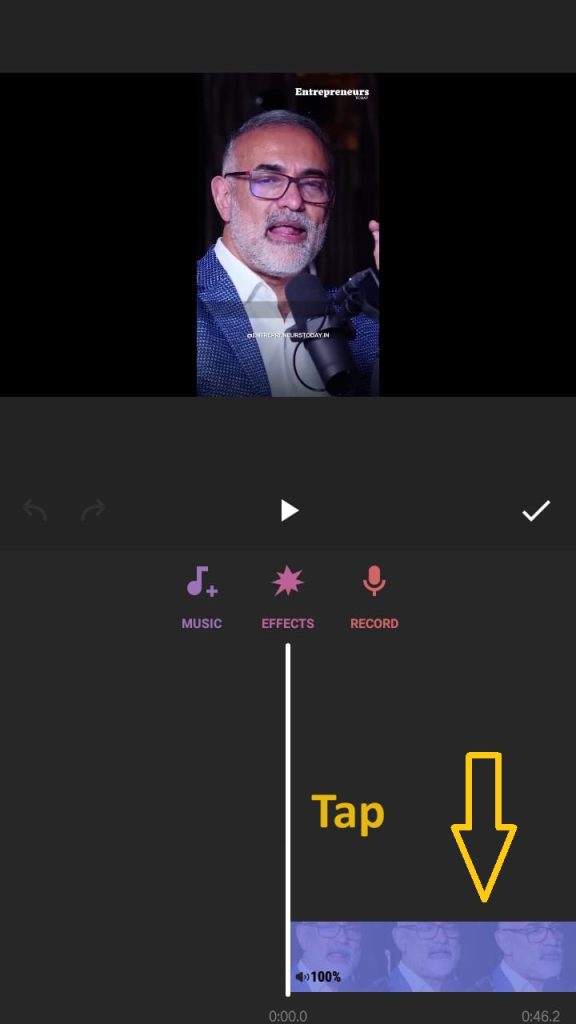
Since we want to record audio voice over, select the “Record” option. Before recording your voice, it’s advisable to lower the volume of the original video. To do this, tap on the video timeline.
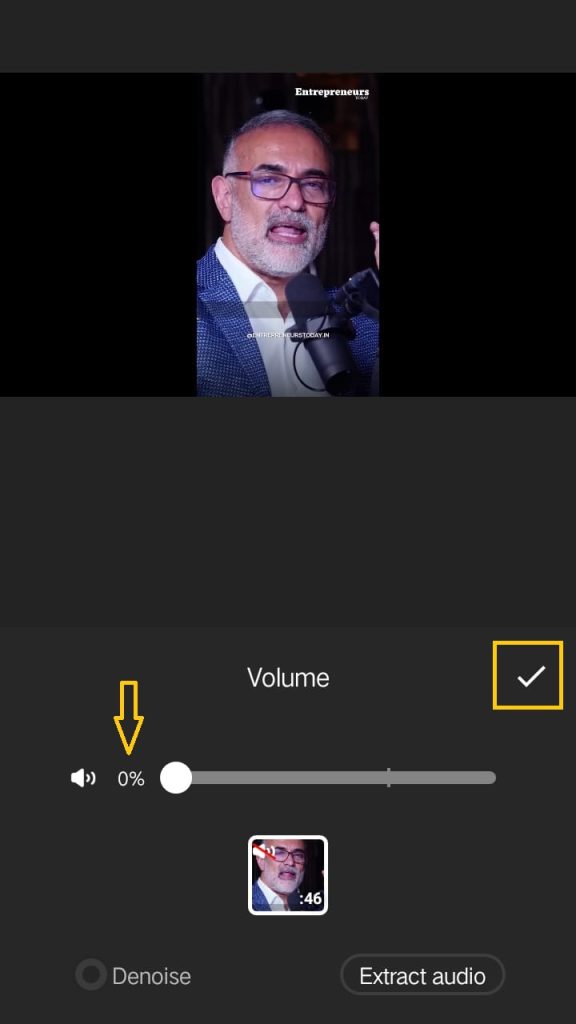
After tapping on the video timeline, you’ll see the option to adjust the volume. In my case, I want to mute the original video to add a completely new voice. If you don’t want to mute the original audio, you can leave it as is or adjust the volume accordingly.
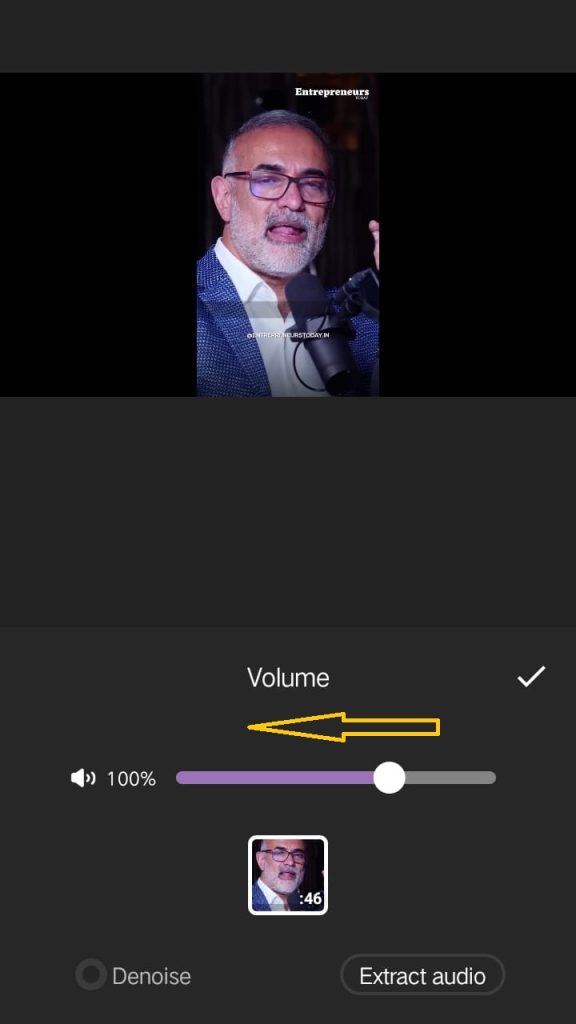
Lower the volume and tap on the checkmark to confirm.
Step 3: Adding Voice Over by Recording
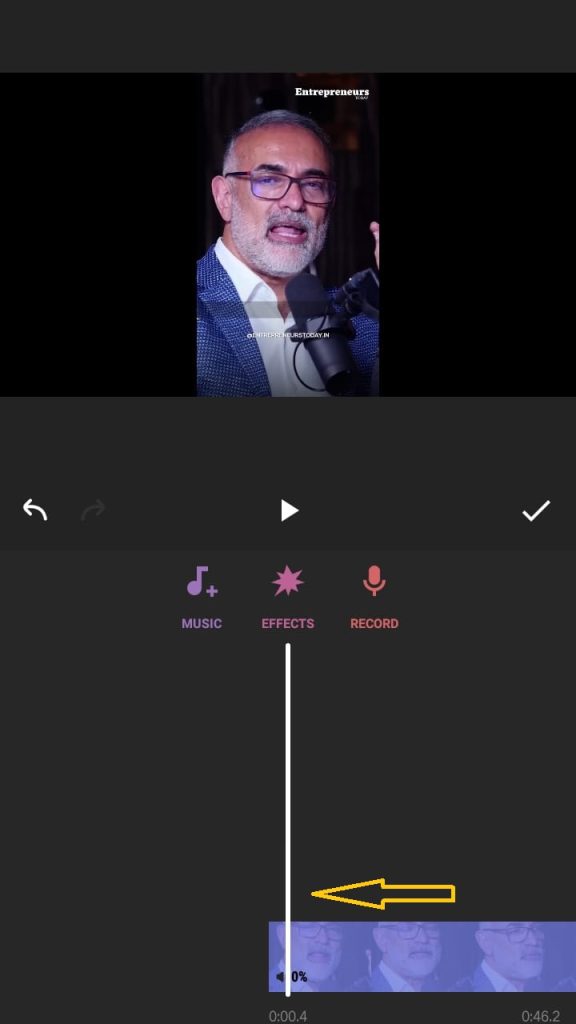
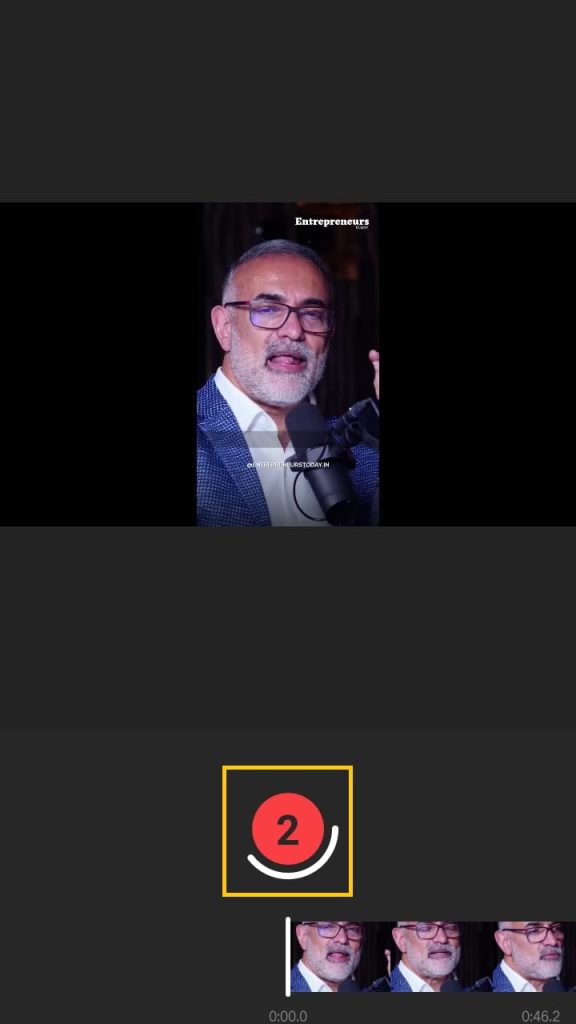
Now, you’re back to the main three options. From here, you can start recording. But before that, adjust the starting point to the beginning of the video so that the recording begins from the start.
Now, start recording by hitting the record option.

As you can see, the countdown has started.
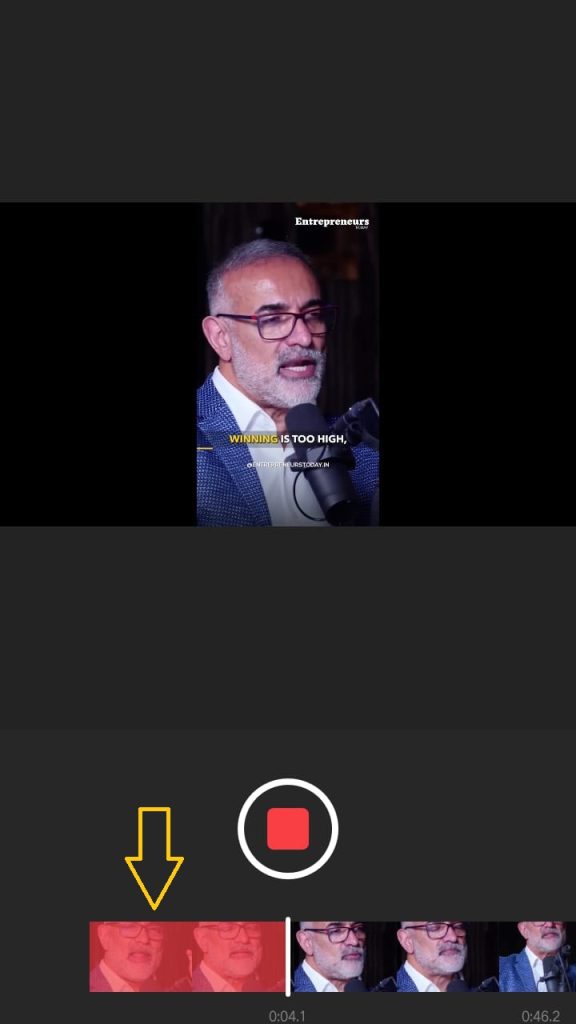
As you can see, during the recording, the video timeline of the portion where voice is added turns red, indicating the specific section of the video that has been recorded.
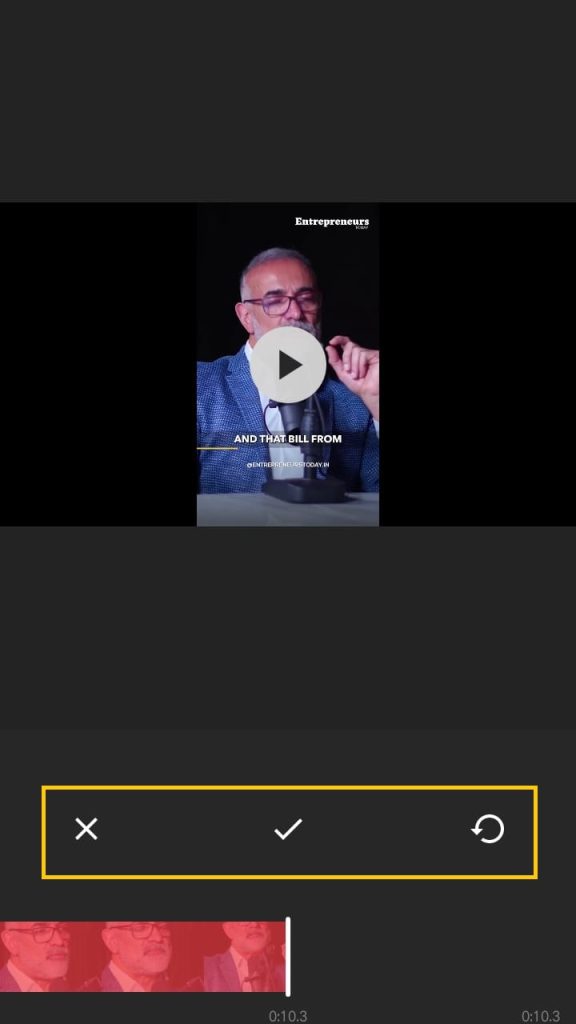
Step 4: Confirm, Cancel or Restarting Recording
Once the recording is complete, InShot provides three options. The first one is a cross icon, allowing you to cancel the recording. Tapping on it will cancel the recording. The second option is a checkmark, which allows you to save the recording. Lastly, there’s a circular arrow, which means you can start recording again from the beginning. Choose the option that suits how your voice has been added.
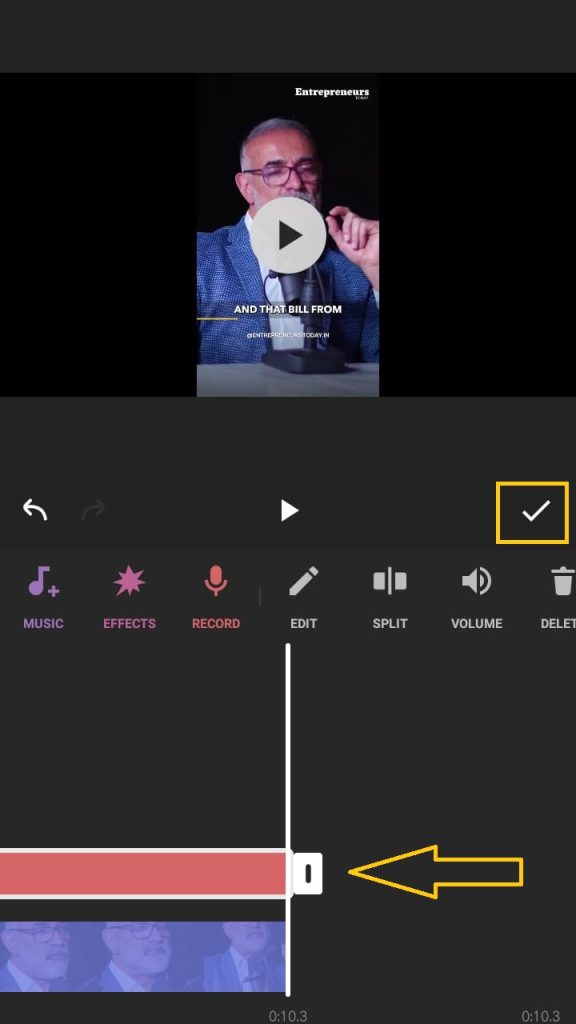
In my case I will choose 2nd one because I am done. By Tapping on 2nd one I confirmed so the recording has added to my video.
Tips and Suggestions
If your video is too lengthy, I recommend dividing it into different sections by splitting or cutting the footage. This way, you can add voiceovers multiple times, making the process more manageable than attempting it all at once.
For instance, if your video is 5 minutes long, and you do a great job in the first 2 minutes but encounter challenges in the last 3 minutes, recording the entire video again could be time-consuming and inefficient. However, if you divide the video into, say, 5 parts, you have the flexibility to focus on specific segments without redoing the entire recording.
This approach allows you to fine-tune each section independently, ensuring that mistakes in one part don’t compromise the quality of the entire recording. By breaking down your video into smaller, more manageable chunks, you can enhance the overall quality of your voice overs and streamline the editing process.