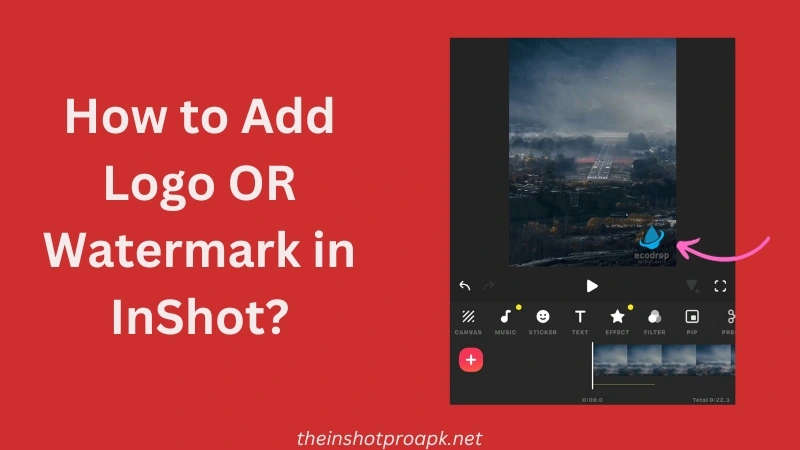
How to Add Watermark OR logo In InShot?
Inshot is one of the best video and image editing app and the beauty of this app is there are different options by utilizing which you can edit video or picture like a pro.
And in this article we will talk about how to add watermark or Logo in InShot. There are two method by using you can add watermark/logon in your video as I did for my video. So read and apply every step with screenshot.
Adding Watermark in InShot: Method 1 (Adding Text)
With this method you can add text to your video and if you made your mind of adding custom logo then I suggest you to go with second method.
1) Launch InShot App:
Open the InShot app on your mobile device.
2) Import Video or Image:
Choose the video or image to which you want to add a custom logo or watermark. Import it into the InShot editor.
3) Remove InShot Default Logo/Watermark:
In order to add your own watermark/logo first of all you have to remove Inshot Watermark. Locate the default InShot logo on your video or image and then tap on the cross icon over the InShot logo. To remove inshot logo permanently, get Inshot MOD APK and get rid of logo.
Two options will appear; select “Free Remove.”
If your device is not connected to the internet, a process will initiate to remove the default logo
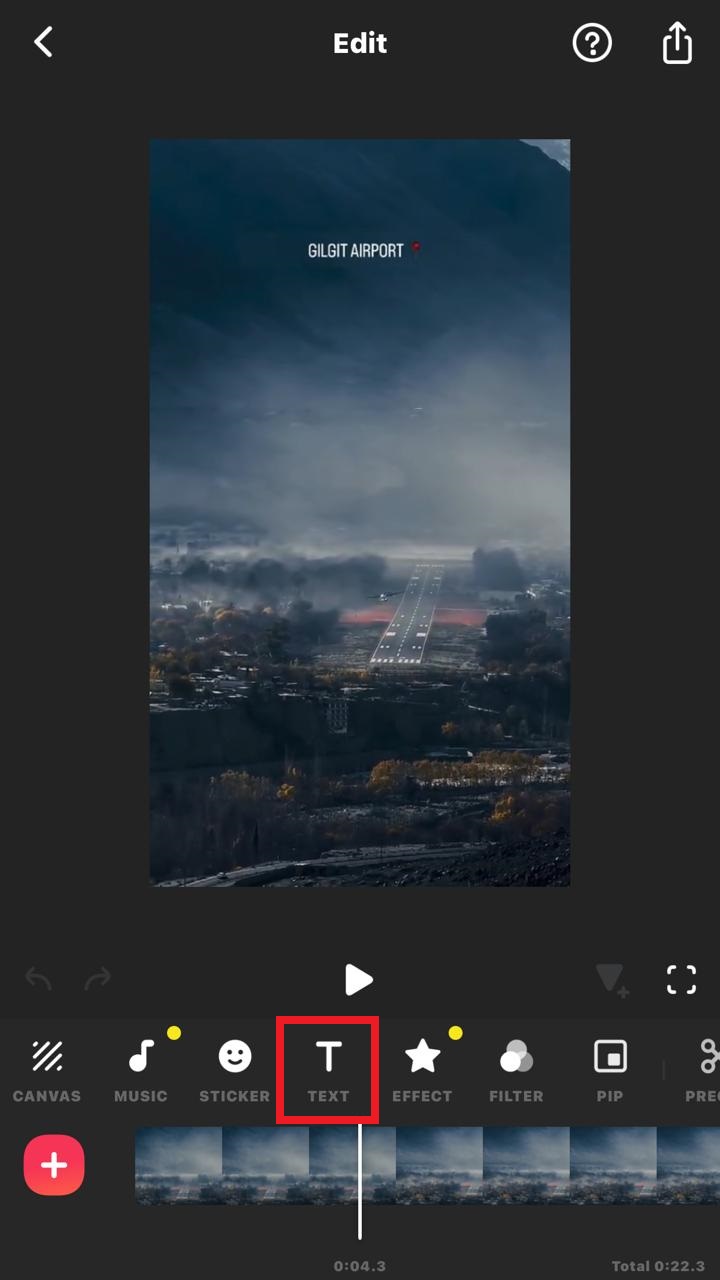
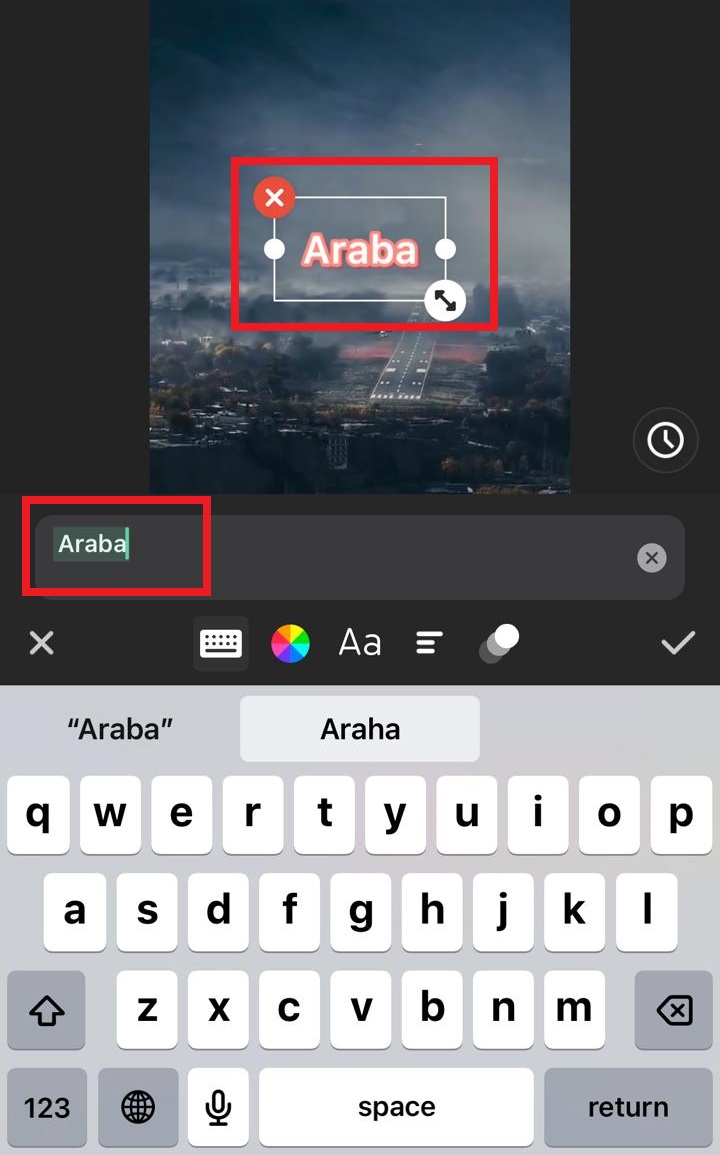
4) Add Custom Text Logo/Watermark:
Tap on the text icon located below the editing options.
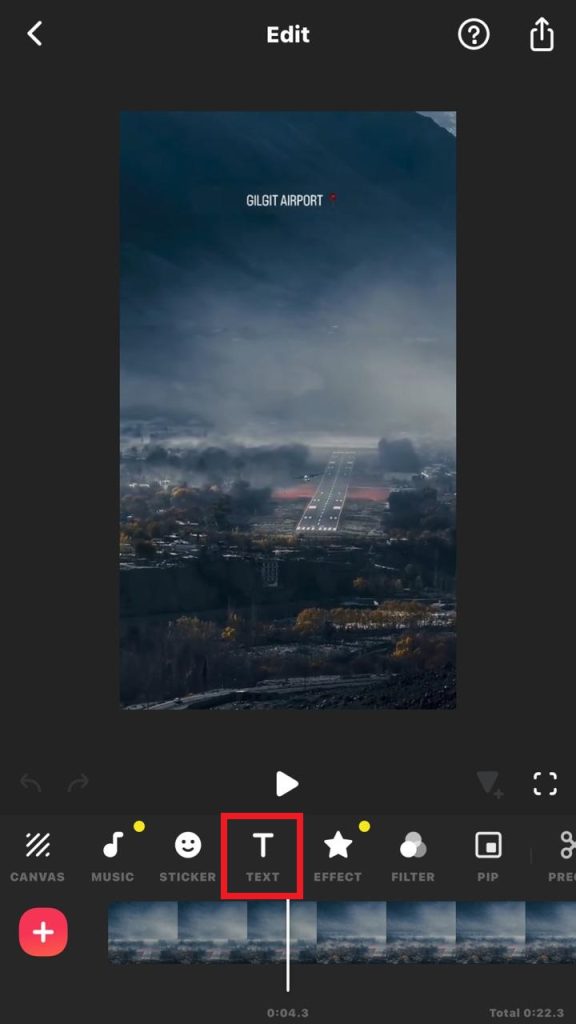
In the menu that appears, tap on the text icon again to access text customization options.
Enter your desired text in the provided field.

5) Adjust Text Position and Appearance:
Move and adjust the text to your preferred location on the video or image.

Customize the text further by changing its color, size, and font.
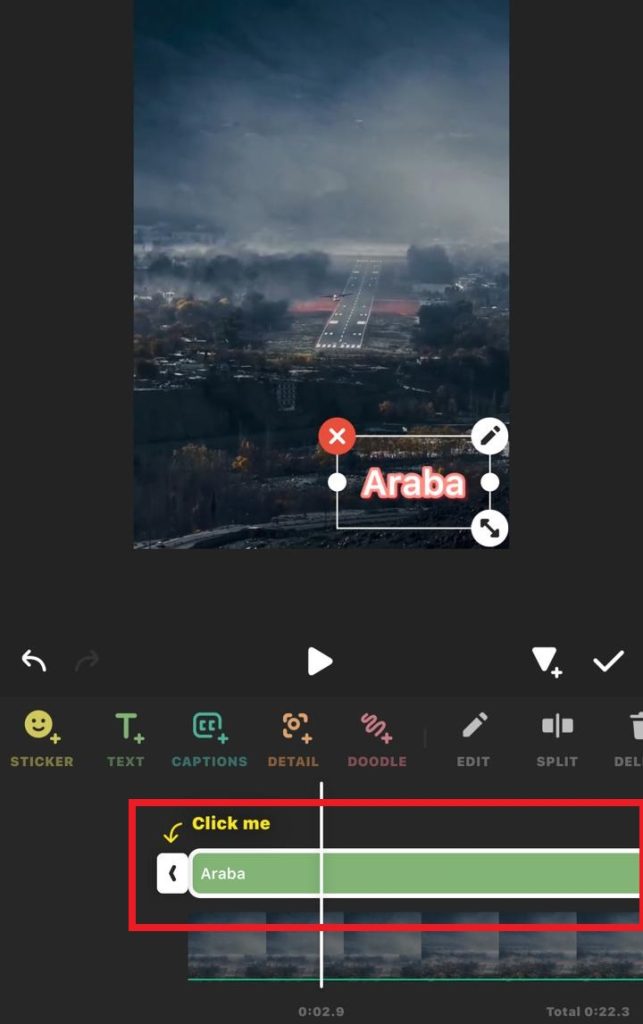
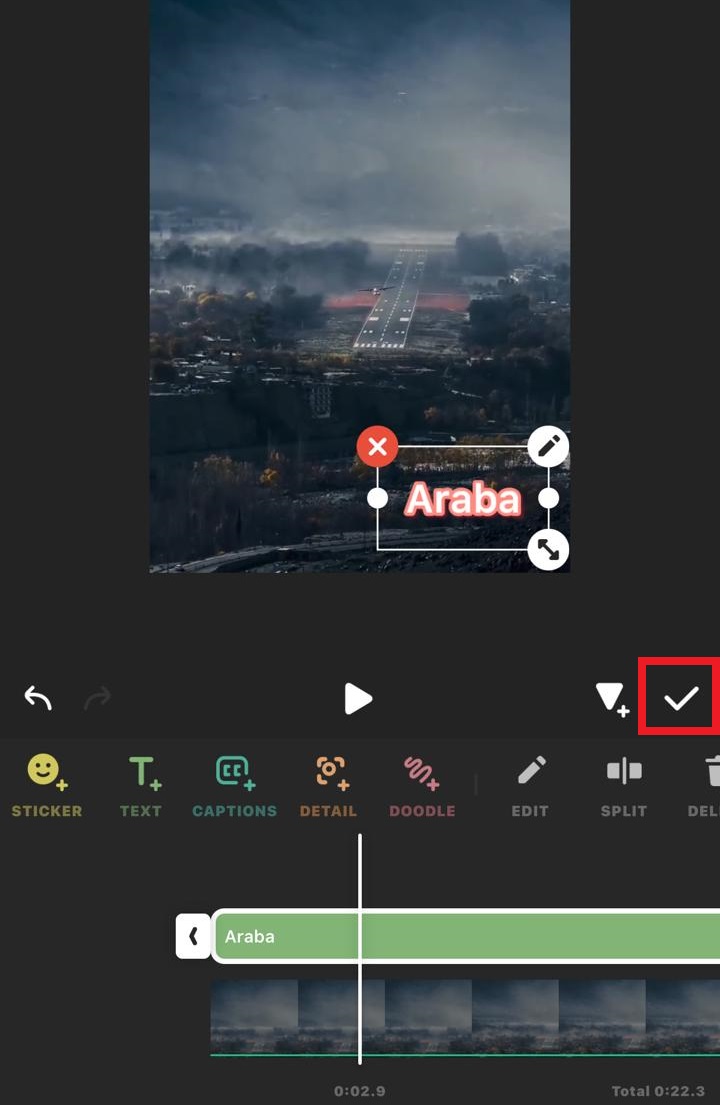
6) Set Duration for Text (if working with a video):
If you are adding text to a video, a green panel below the timeline represents the text duration.
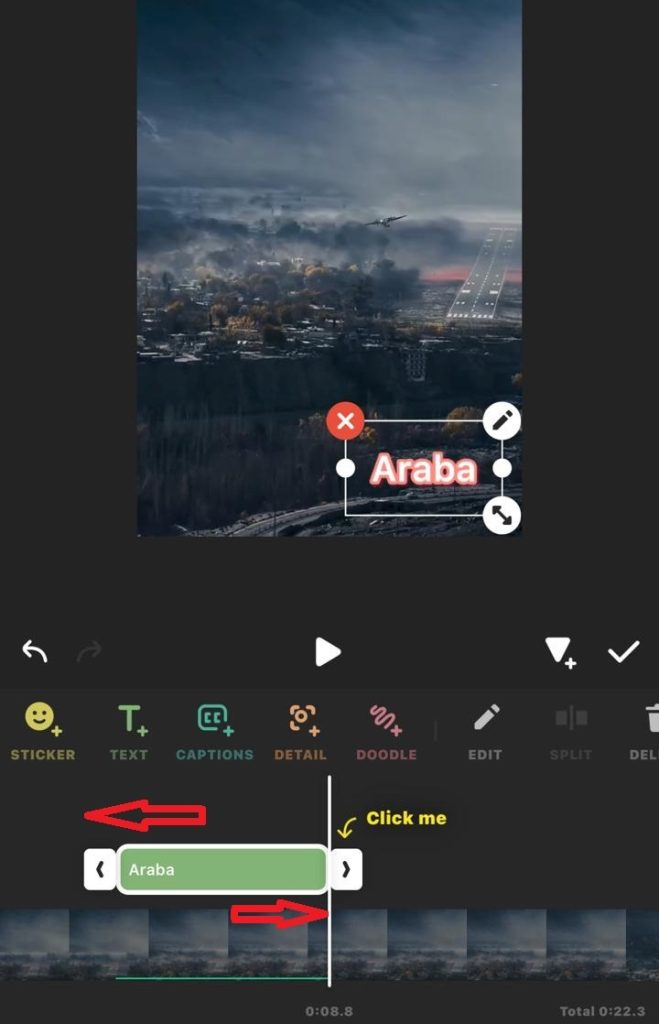
Stretch the green panel to cover the entire video length if you want the text to appear throughout the video.
7) Finalize and Save:
Once satisfied with the text placement and appearance, tap on the “Tick” icon to confirm your changes.

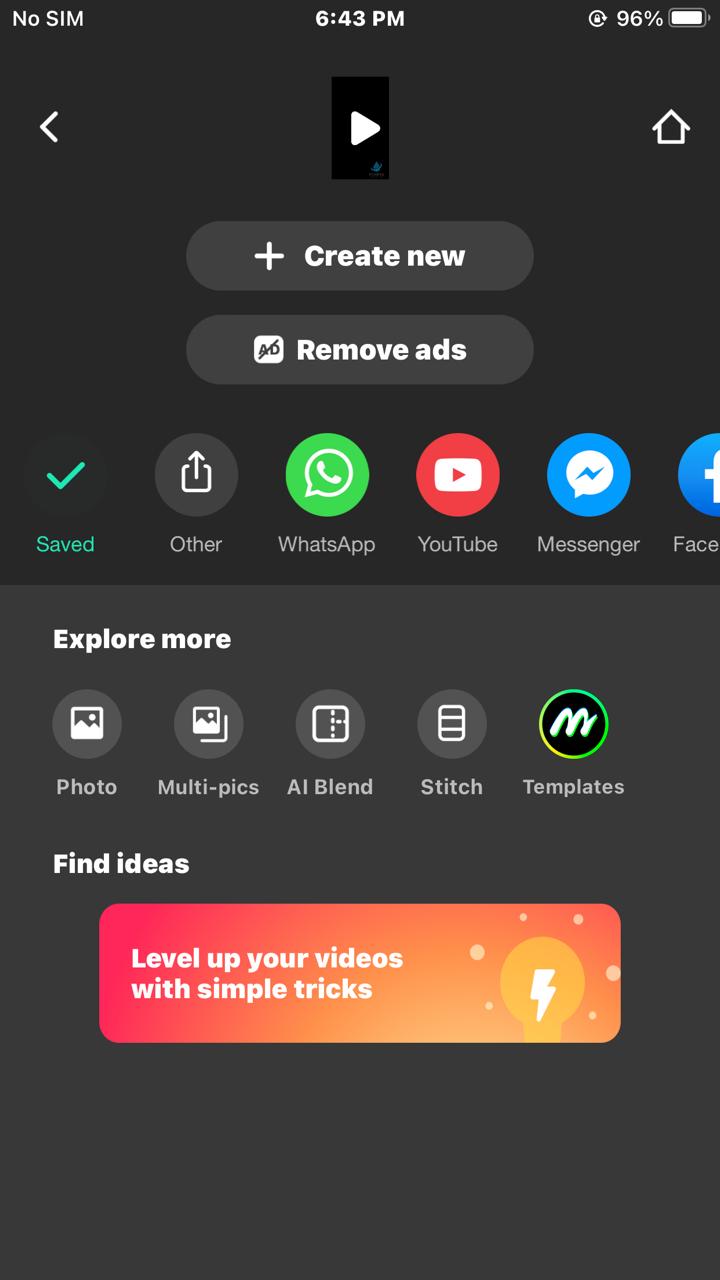
8) Save or Export:
Save or export the edited video or image with the custom logo/watermark to your device.
Method 1 Summary Gallery
Slide Each Picture


Adding Logo: Method 2 (Custom Logo)
With this method you can add your own custom logo in your videos.
1) Import Video or Image:
Launch the InShot app on your mobile device. Import the video or image to which you want to add a custom logo or watermark.

2) Remove InShot Default Logo/Watermark:
Follow the steps mentioned in Method 1 to remove the default InShot logo.
3) Add Custom Logo/Watermark:
Tap on the sticker icon, located at the bottom next to the music icon in the editing options.
4) Choose Sticker Option:
InShot will present you with five options; select the sticker icon again to proceed.
5) Access Sticker Gallery:
From the new options, choose the gallery or image icon (as shown in the screenshot).
Select your pre-made custom logo from your device’s gallery. Ensure the logo is in PNG format for transparency.
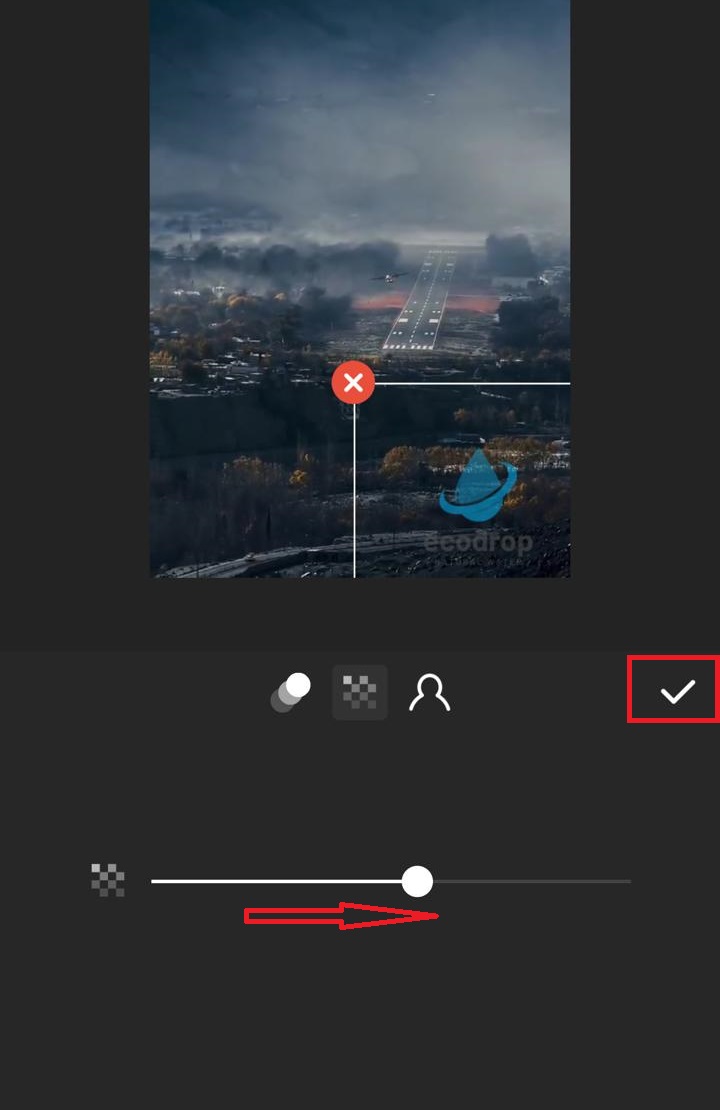
6) Edit Logo Settings:
After adding the logo, tap on the “edit” icon.
Three options will appear; use the middle option to adjust the intensity or transparency of the logo.
Then adjust the intensity of logo or watermark or you can leave it as it is if it looks good.

Once satisfied, tap on the “tick” icon to save the settings.
7) Stretch Time Frame:
To make the logo visible throughout the video, stretch the time frame of the logo. Drag and adjust the edges of the logo on the timeline to cover the entire duration of the video.
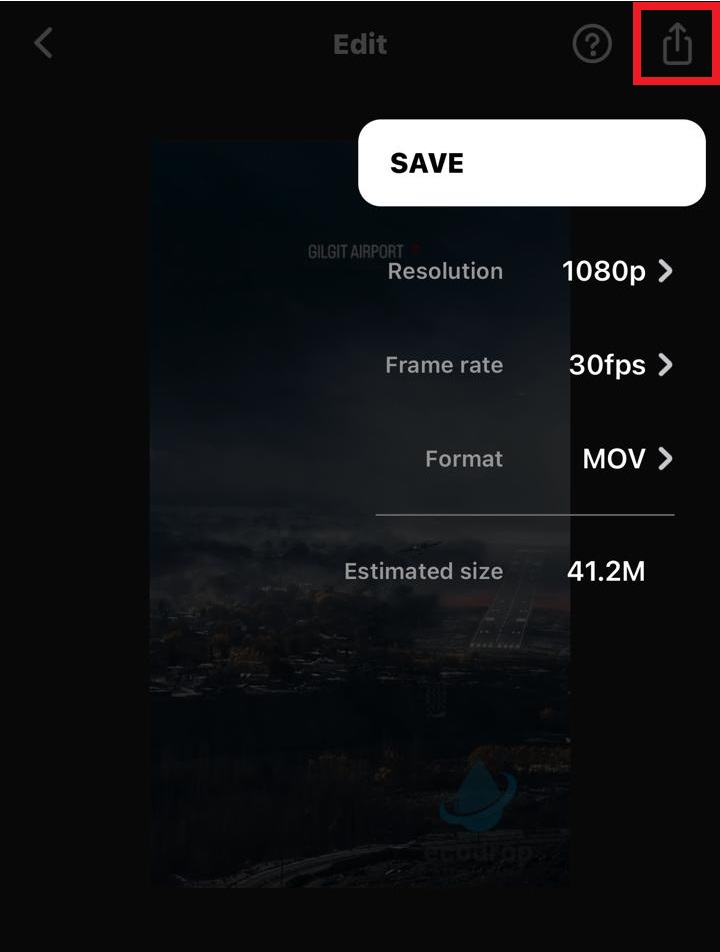
8) Preview and Save:
Play the video to ensure the logo appears correctly and is well-placed.
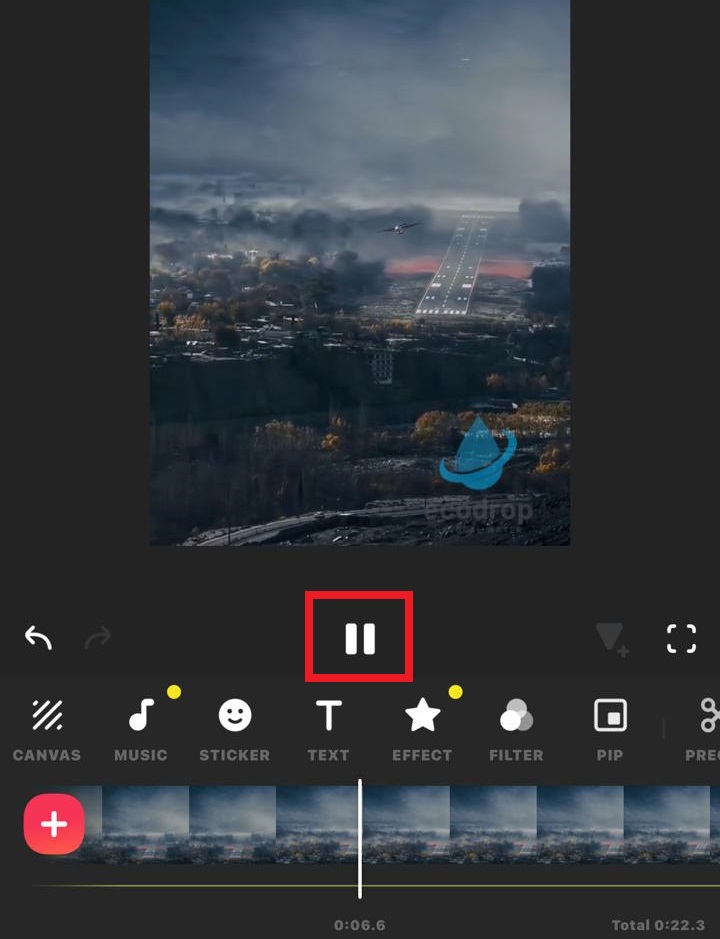
Once satisfied, tap on the export icon at the top right corner of the screen to save the edited video with the custom logo.